| Lesson 1 Lesson 2 Lesson 3 Lesson 4 Lesson 5 Lesson 6 Lesson 7 Lesson 8 Lesson 9 Lesson 10 Lesson 11 Lesson 12 Lesson 13 Lesson 14 Lesson 15 Lesson 16 Lesson 17 Lesson 18 Lesson 19 Lesson 20 Lesson 21 |
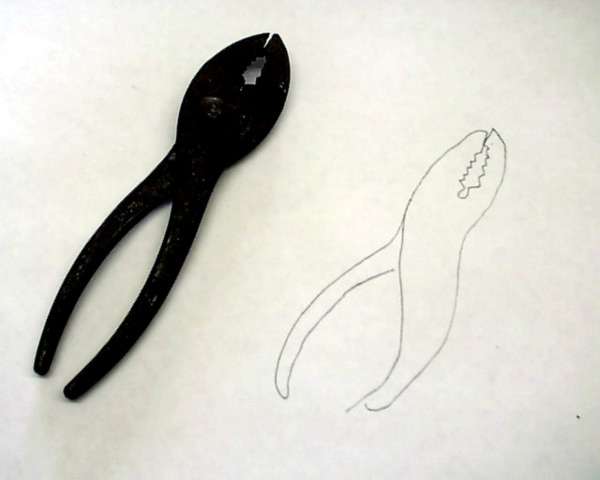
A good subject is a plant - don't get lost in the leaves. Just follow the contour, the edge of the leaf. Perhaps down the leaf onto the pot and onto the table. Tools are always interesting too. Your completed drawing will probably look like a jumble of lines at first but as you practice this method you will begin drawing accurately.
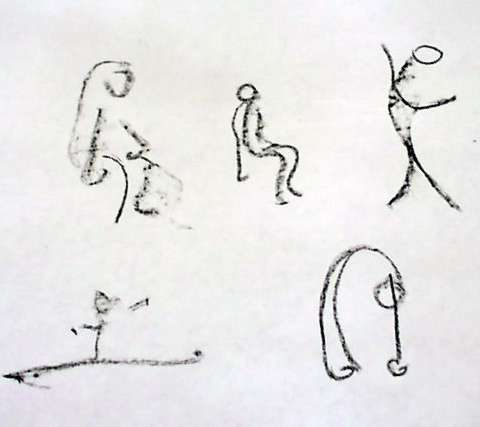
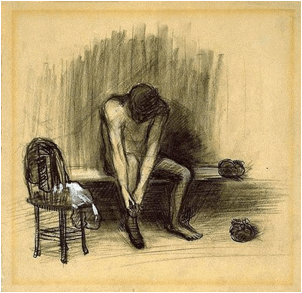
Remember, practice, practice. As you are sitting at a cafe or waiting for a bus - draw, draw. Most artists don't look at their paper but have practiced so much that they have trained their eye hand coordination to the extent that their hand goes where their eye does. They have trained their eyes to see and their hands to draw what they see. Contour drawing is slow. Take a long time to train your eye. There are no mistakes, remember you are just training your hands to draw where your eyes see. After many blind contour drawings, try a quickly drawn sketch looking at your subject and your paper. It probably will look free and flowing. Gesture DrawingThis will help you get feeling into your drawings.
Take a look in the mirror at your own gestures. Go to the park and draw people moving about. You only need a glimpse of them for you to capture their gesture. Draw people dancing, riding a bike, walking, running, twirling, bending in different ways, etc. Modeled Drawing
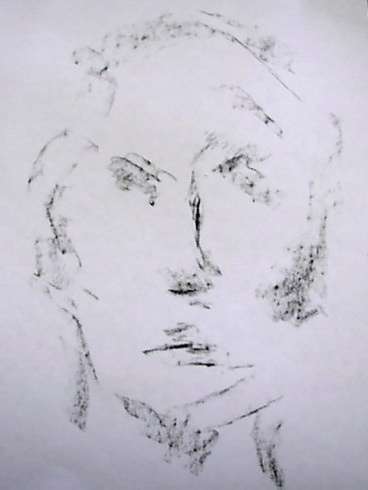
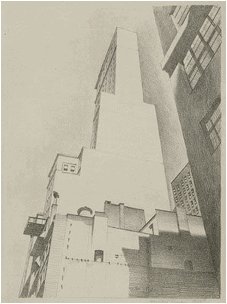
Notice the light on your subject. Study the value of what you are drawing by squinting your eyes. You will see the dark and light and medium values more easily. Most objects appear lightest in the foreground and darkest on the back edges but the light on your subject can affect the light and dark areas too. Of course, mountains are darkest up front and lightest as you see the ones in the distance. Sometimes it's better not to know this but to discover the values as you draw. Getting More DepthIf you use an eraser through all of your drawing then redraw it, your image will have much more depth. Just let your eraser erase through like your handwriting, leaving some of the drawing and erasing some in a rhythm indicative of you. Now draw it again.I know it's frightening to have a nice drawing and then erase through it, seemingly destroying it, but a good way you can achieve more depth is to draw several layers in one drawing and erasing or wiping with a cloth gives grades and marks you are unable to achieve any other way. You drew it once - so you can draw it again. Try these tips:
1. Start by drawing shapes, not identifiable objects. You'll hear this advice over and over again in art classes and workshops. To understand what it really means, think about the way children draw faces. They know that a face has two eyes, two ears, a centered nose, and two lips. No matter how the person facing them is posed, children will insist on including all the features, even if they can only see one eye, one ear, and a protruding nose. They draw what they know, not what they see. To some extent, adults do exactly the same thing. 2. Consider the negative shapes as much as you do the positive shapes. Students often find it difficult to determine how to draw an arm that extends away from a model's body or the distance between two objects sitting on a table. The way to do that is to imagine that the "negative space," or the open space between the model's body and her arm, is a solid object with a height, width, and length. The same technique can be used when trying to determine how far one building is from another or how high a head is above a model's shoulders. It helps to deal with the negative space in the same way you deal with the positive shapes. 3. Visualize and draw the lines you can't see in order to draw the visible lines accurately. Sometimes the best way to draw something that is partially concealed from your view is to continue the lines as if you could actually see it. For example, if you want to determine the curvature of a bowl filled with fruit, draw the complete circular top as if the bowl were empty, and then erase the sections that are obstructed. And if you want to know how far a leg extends beyond a person's waistline, drop an imaginary plumb line from the waist to the floor, and then evaluate the shape of the triangle formed by the leg, floor, and plumb line. 4. Draw connected shapes, not disconnected shapes. It's very difficult to calculate how far a person's head is from the bottom of his or her feet, the distance from one ear to the other, or the distance from a far tree to one in the foreground unless you draw all the shapes in between. That is, after guessing at the total height of a standing figure and establishing a scale for the drawing so that it fits on the sheet of paper, work your way down from the head to the shoulders, from there to the waist, on to the knees, etc, so that you can judge each shape in relationship to the others.
5. Draw light guidelines between shapes to better judge the distances between them. Artist Robert Liberace recommends to start by making very light, straight lines between all the component parts of the figure or still life objects to guide your hand as you begin to refine a drawing. Then gradually add more lines using Conté crayons, graphite, charcoal, or colored pencils to darken the edges of the shapes and the shadow patterns in between. 6. Start by drawing the lightest values and build to the darkest. Most artists find that it makes sense to gradually build from the lightest areas of their drawings to the darkest so they have an opportunity to make adjustments along the way without damaging the surface of the paper or creating ugly smudges where they have erased inaccurate lines. |
||||||||||||||||||||||||||||