This is the first lesson of the Art Studies class by Poochie Myers.
Poochie would like to start a dialogue with new students to art as well as professionals who might want to include segments into these art lessons, or field questions from participants. Please post your comments to Poochie: mailto:poochie.art@gmail.com
If you have to struggle then you are doing something wrong.
Lesson One - Design
Materials:
Have a supply of colored construction paper, glue (rubber cement is good). You can use scissors if you want but just tear the paper for the first 10 collages.

Tearing the paper gives you less control and very nice edges. Why do you want less control? Control will stop your creativity. You can keep order without having control. Think about it!
Process:
Choose no more than 5 colors that you like.
First take 10 sheets of colored paper - some of the 5 colors you like - and lay them down spread out on the floor. You use the floor so you can have more distance from you and your art. It is easier to see what you are doing if you have some distance.
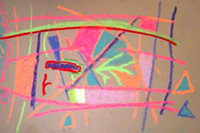
Next tear shapes from other colored paper choices and lay these shapes on the colored sheets - don't think - just have fun. Look at what color looks great over what other color! And you liked all these colors anyway.
Keep tearing and laying until you have completed 10 collages. How do they look? If you are not used to making art they might look strange to you. Don't worry. They are probably wonderful.
Shut your eyes and make one more collage with the left over scraps of paper. Keep those eyes shut. Just feel this one.
Glueing:
Place one finger on the collage paper and lift with other finger to put some glue under each color shape without moving them around.
Tack them up on the wall when they are all glued. They will look different from this viewpoint. What about that one you made with your eyes shut? It could be the best one?
Complementary Colors:
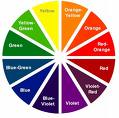 Let's learn complimentary colors now. You have all heard of a color wheel. The reason it is in the form of a wheel is because the colors opposite each other are always the complimentary colors. We can't carry a color wheel everywhere so here's an easy way to discover the compliment of any color: Let's learn complimentary colors now. You have all heard of a color wheel. The reason it is in the form of a wheel is because the colors opposite each other are always the complimentary colors. We can't carry a color wheel everywhere so here's an easy way to discover the compliment of any color:
Cut up colored paper into 3 or 4 inch squares. Hold one colored square over a white paper in a strong light. Stare at this color with the strong light on it and count to 10. Without moving your eyes from the color square, remove the color square and keep staring at the white paper that was under the color square. It will display the compliment just like magic. It's not magic. This is the way our eyes are designed. The reason the hospital operating rooms use green for walls and gowns is because the red blood of the operation makes our eye see green, the compliment of red. In order to keep the surgeons eyes rested the blood is red and the gowns are green. The complimentary color do just that - compliment each other.
 
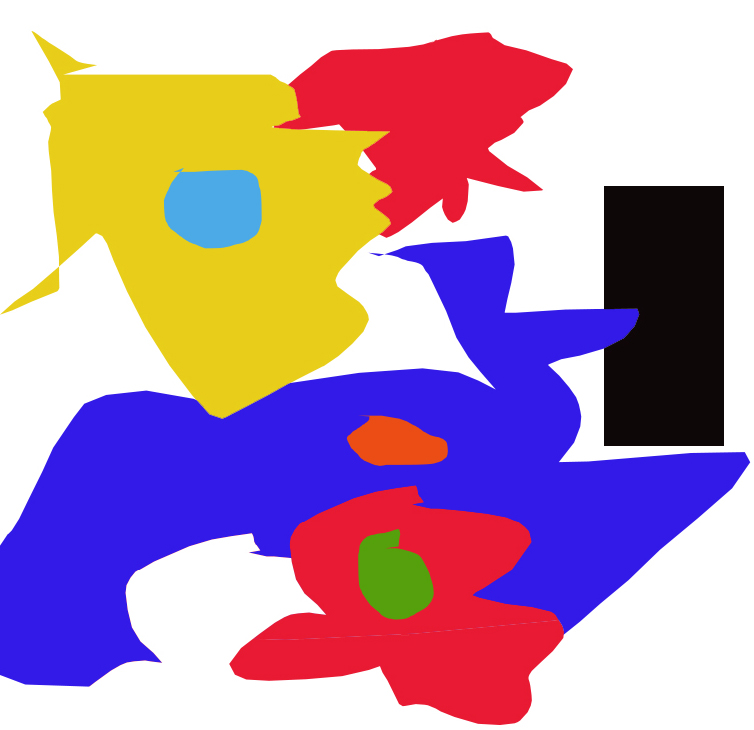
Focal Points:
Look at your 10 collages and decide where is the most interesting area? Tear a dot of the complimentary color of that area and place it on top. What happens when you do this? It jumps out at you!
Look around your home and notice where complimentary colors are beside each other. Is this restful? Does the area seem like it is "talking" to you a lot?
Have fun - you can't make too many collages. When you have made 100 then you might begin knowing what you are doing.
Proceed to Lesson 2
|